What is does the Dashboard Page do?
The Dashboard Screen
The Dashboard is the primary page of the website, which is made up of 4 main sections:
The "About To Spoil Section"
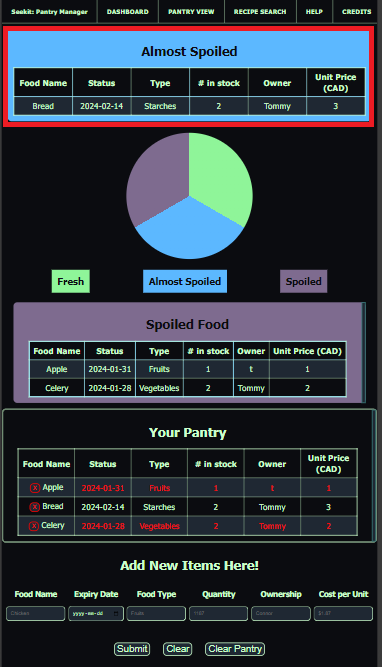
This section contains all of the foodstuffs that are within 72 hrs of their associated expiration date.
The Graphics Section
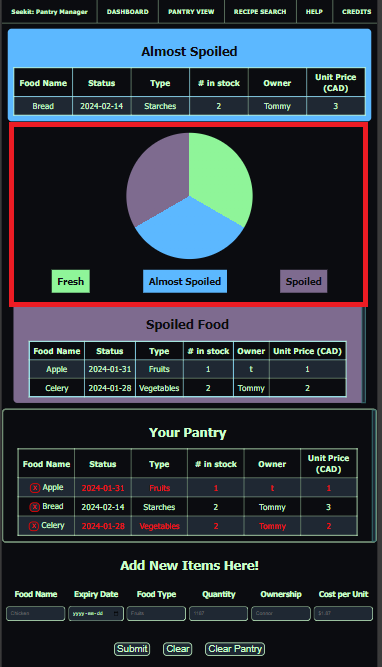
This section contains a simple graphic which shows you at-a-glance the status of your pantry.
The primary dashboard graphic has 4 sections:
- Good (Green);
- Stale/Close to Expiry(Blue); and
- Expired (Black).
I plan to have more plans for graphics, but this is the baseline, and is also auto-represented within your pantry database.
The Spoiled Section
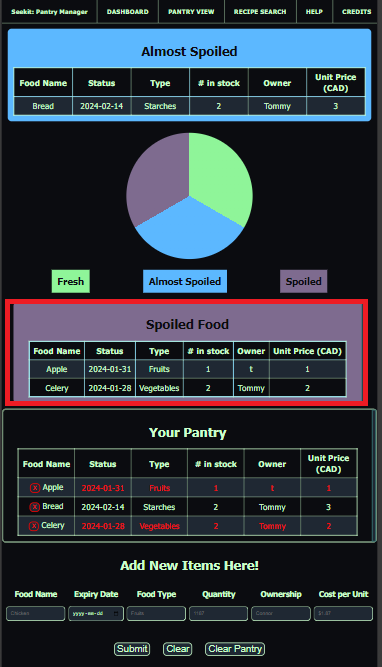
This section shows only items that are at or past their expiry dates.
The Pantry Section
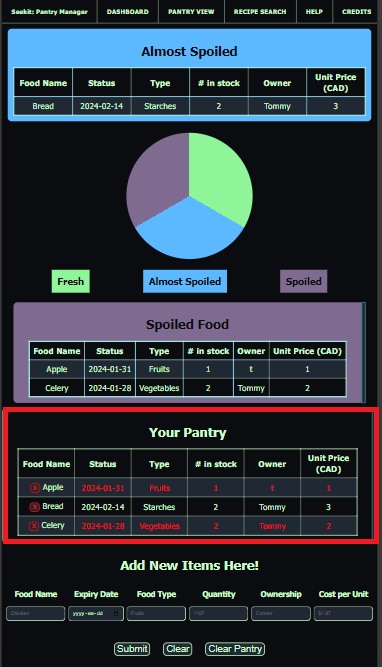
This section contains all of the items currently in your pantry.
The Data Entry Section
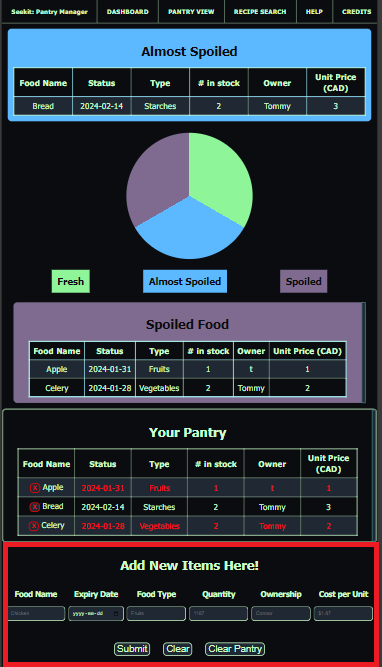
This section allows you to add items to your pantry from the Dashboard. For more details on how to do this, see the "How do I use the add items panels?" section of the help page below.
How does the Pantry Page Work?
The Pantry Screen
The Add Items Bar
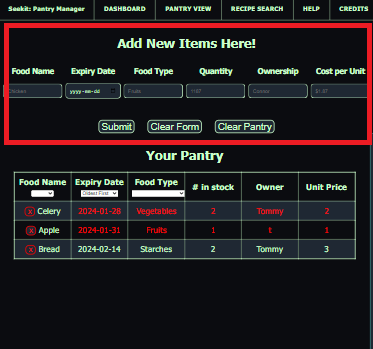
This bar allows you to enter new items into your pantry. For more details on how to do this, see the "How do I use the add items panels?" section of the help page below.
The Pantry Panel
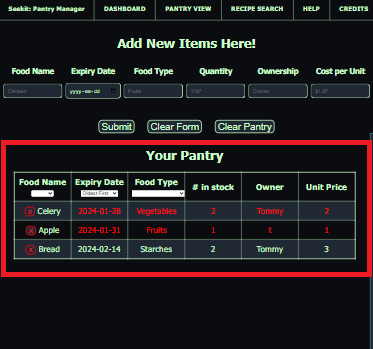
This section contains all of the items currently in your pantry. It also includes dropdown indicators that allow you to sort your items in alpabetical, expiry, or type.
How do I use the add items panels?
The Add Item Panel

Field 1: Food Name
Here you can enter the name of the foodstuff that you would like to add. Pretty straightforward stuff. Make sure to check your own spelling, as this site does not currently have a spellchecker enabled.
Field 2: Expiry Date
Here is where you enter either the expiry date found on the item, or your anticipated expiry date for unmarked foods like fruit and vegetables.
You can enter the date manually in YYYY-MM-DD format. However, my preferred method is to simply click the small calendar icon on the right-hand side of the field and select it from a pop-up calendar.
Field 3: Food Type
Here is where you enter the foodtype, based on the primary food groups. Clicking the dropdown arrow on the righthand side will provide you your options
**note** please use only the selections available, else this will negatively impact your ability to sort by type.
Field 4: Number/Quantity
Here is where you enter the number or quantity of the items in this entry. For example, 3, 3x boxes, 800g, 10lbs, etc.
Field 5: Owner
This optional field is used for folks who live with a number of roommates who share food storage spaces. This way, you can track which of the people owns what in the pantry.
I added this field with my household in mind. If you don't want to use it, you don't have to.
Field 6: Price Per Unit
Possibly the most important field, put what you paid for each unit of quantity. If it is just 1, or a weight, simply enter the price. If it was multiple of the same item, such as boxes of pasta, input the price per box.
I have noticed a way you could improve your site/code. How can I help?
If you have any suggestions or feedback, i'm happy to receive it! I can't make things better until I know how they are broken. Don't be shy, I have thick skin 😜


